Project Start Date: Jul 2013
Source code, schematics, and PCB files: github.com/RussellKramer/RaveCartBike
Instructable: instructables.com/id/LED-Rave-Solar-Shopping-Cart-Tricycle/
Maker Faire 2014:

CTV Interview:
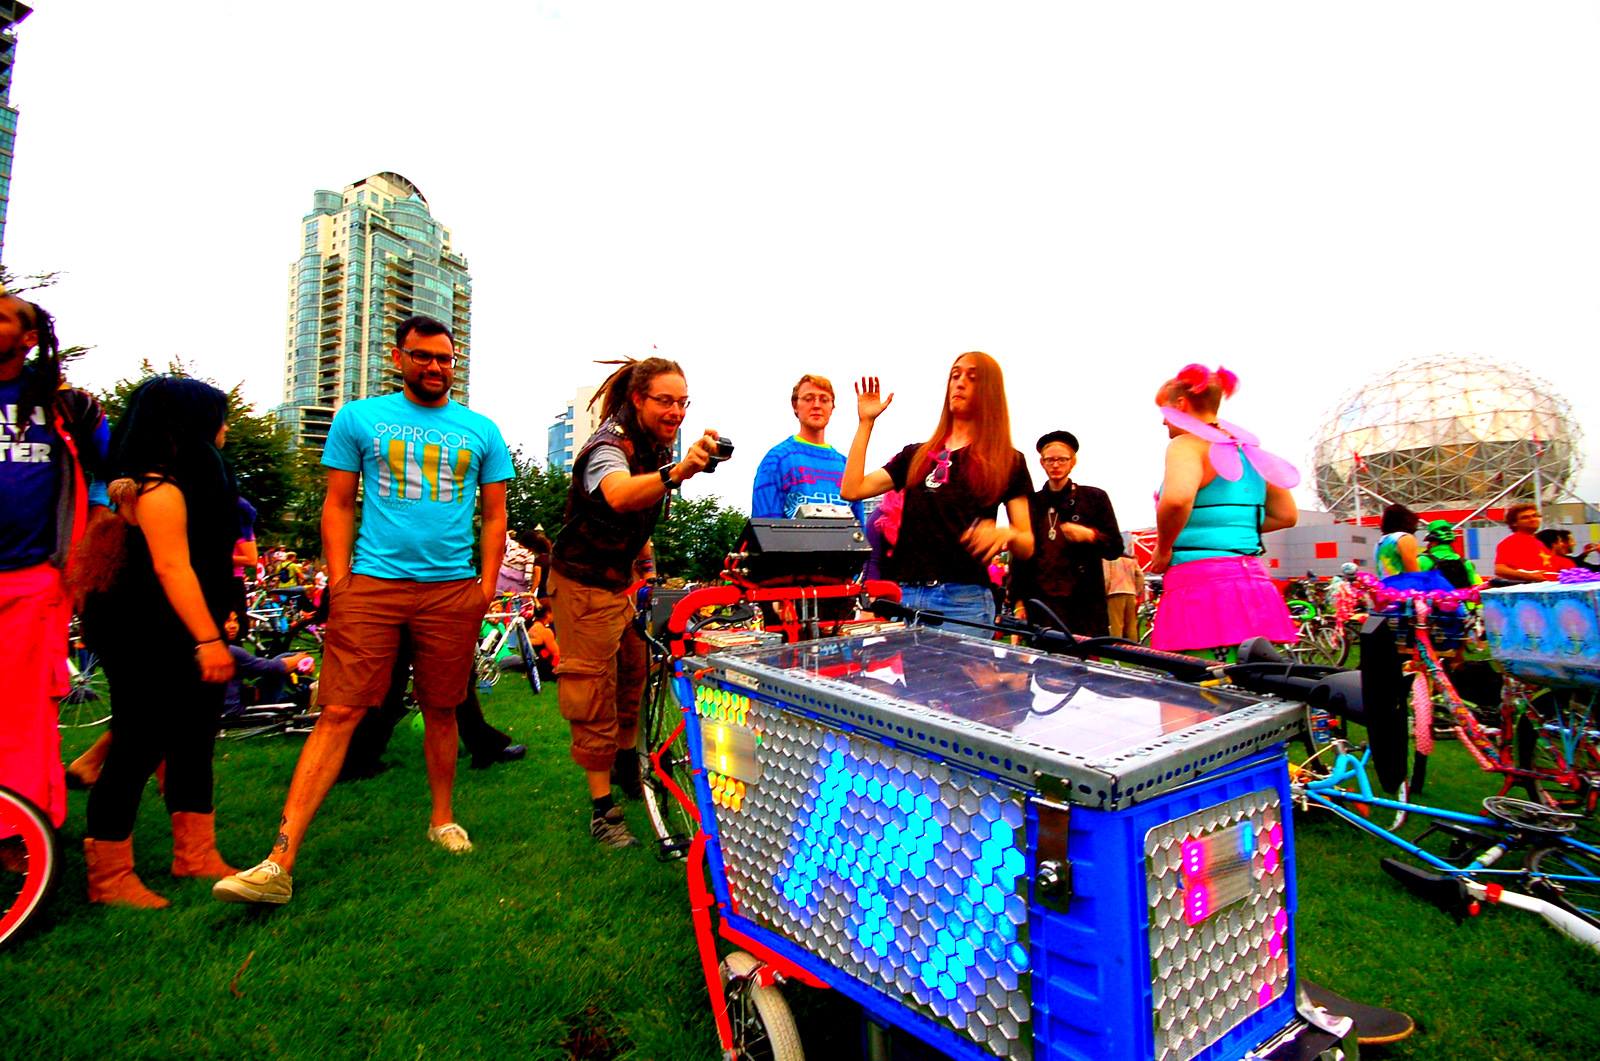
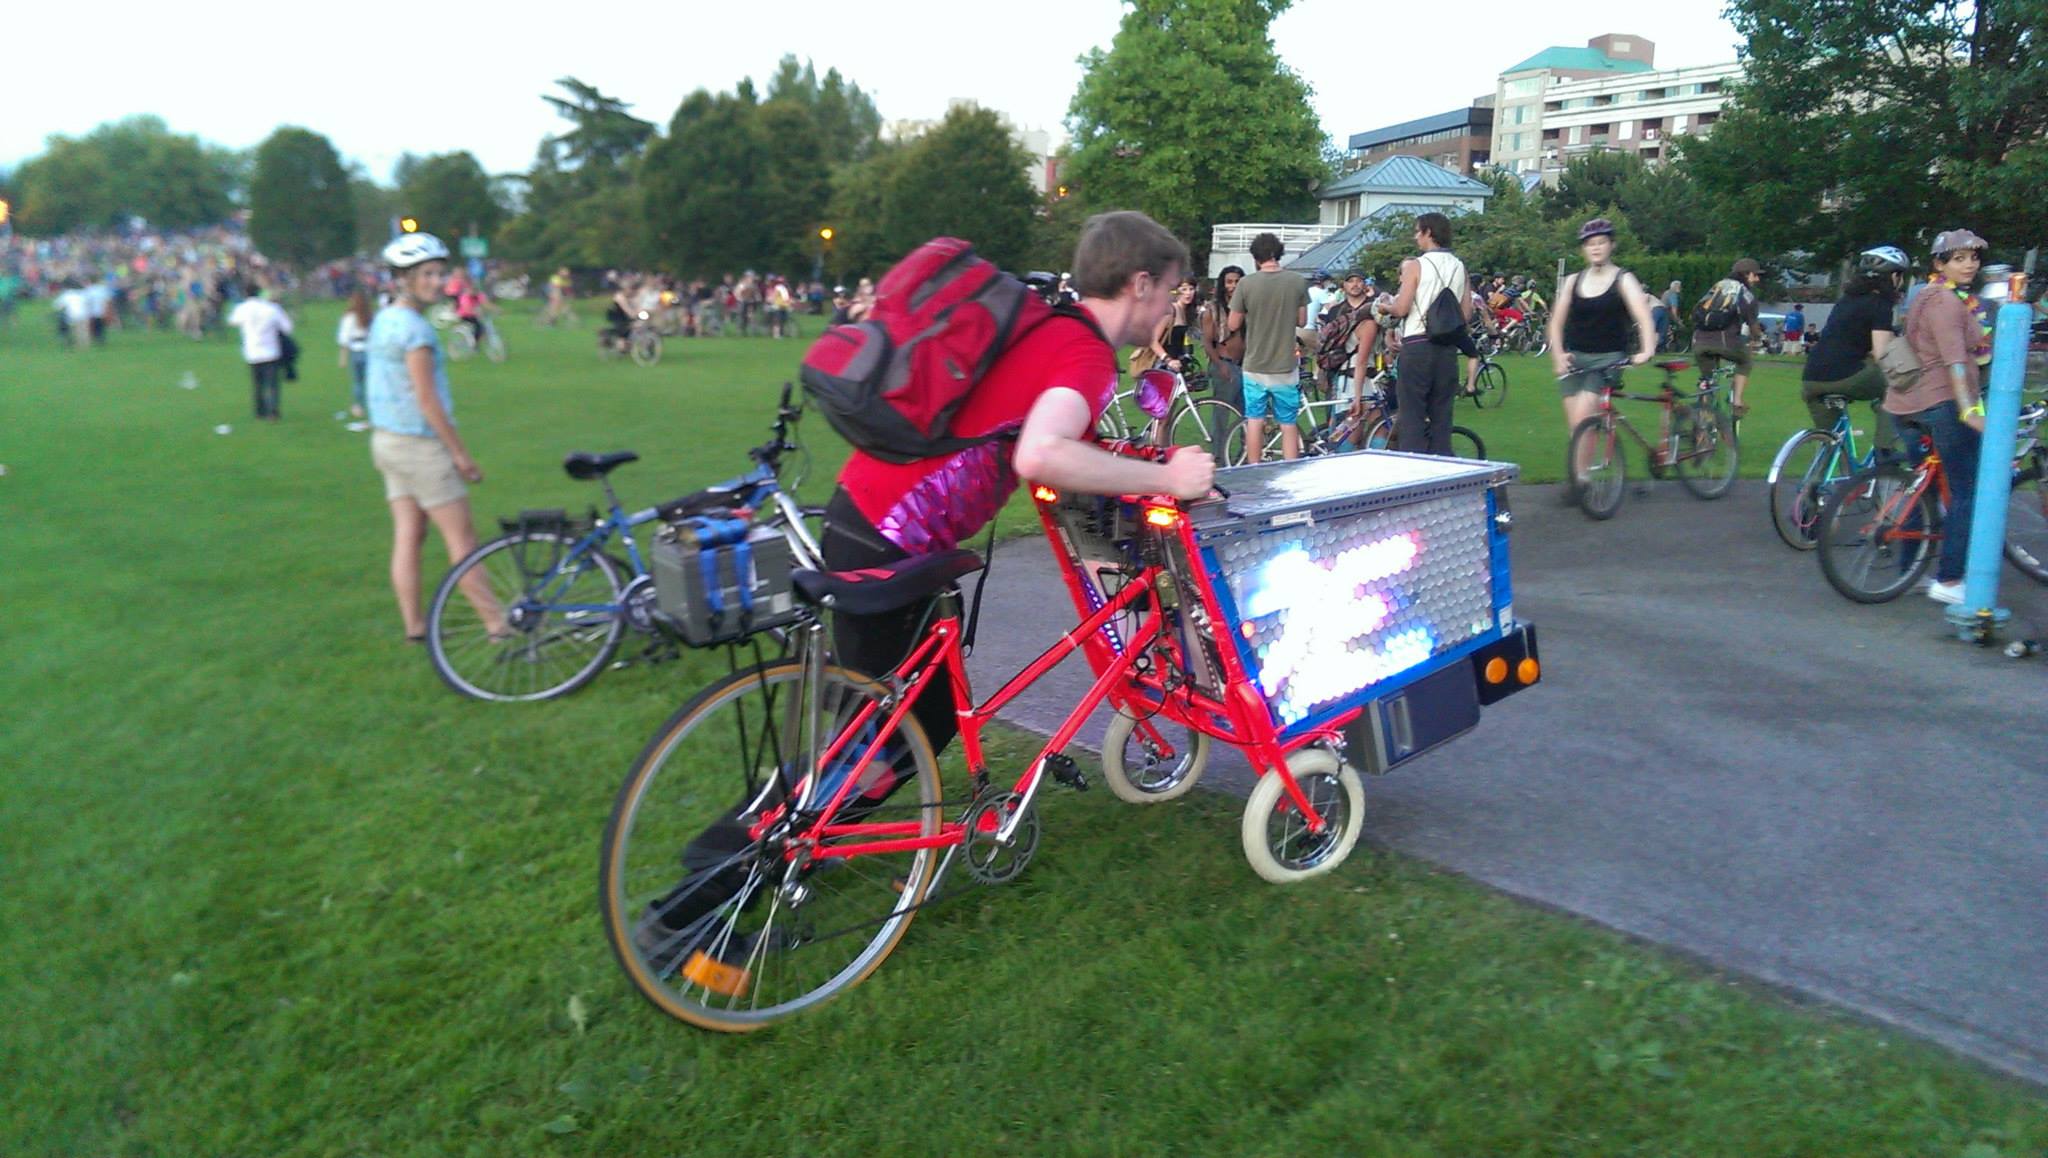
Bike Rave 2014:
2014 MP3 Jukebox Upgrade:
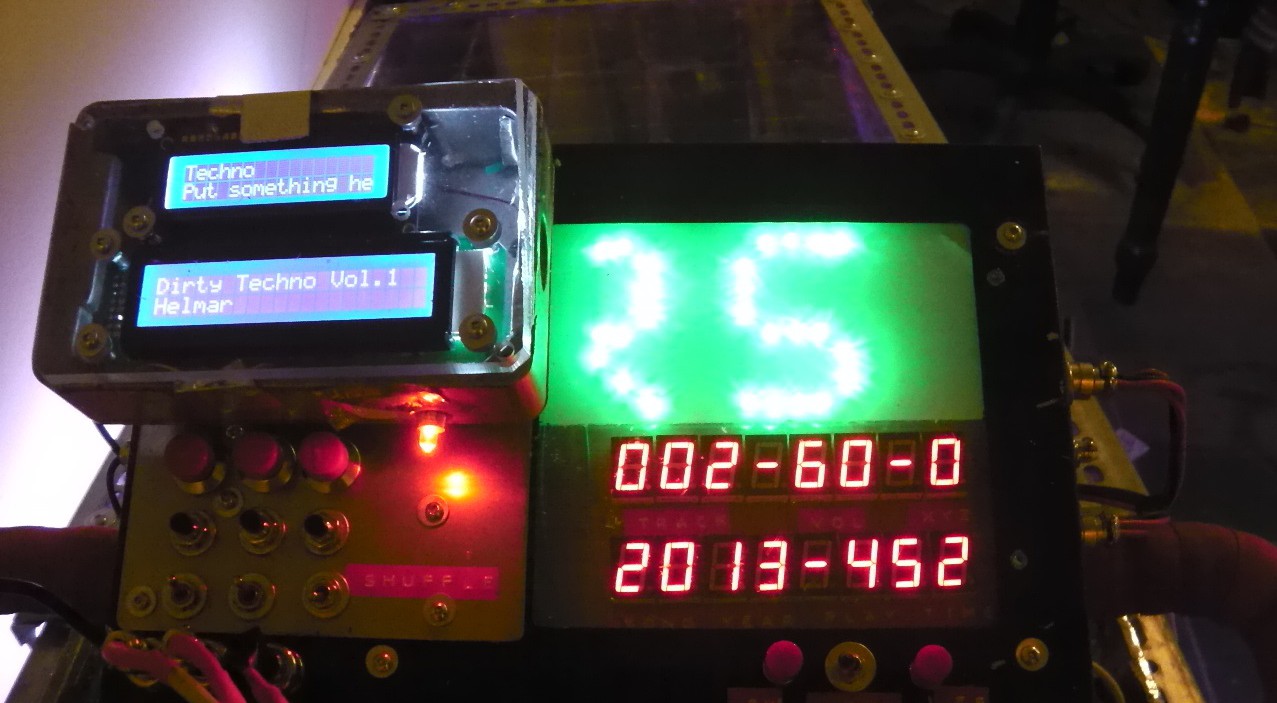
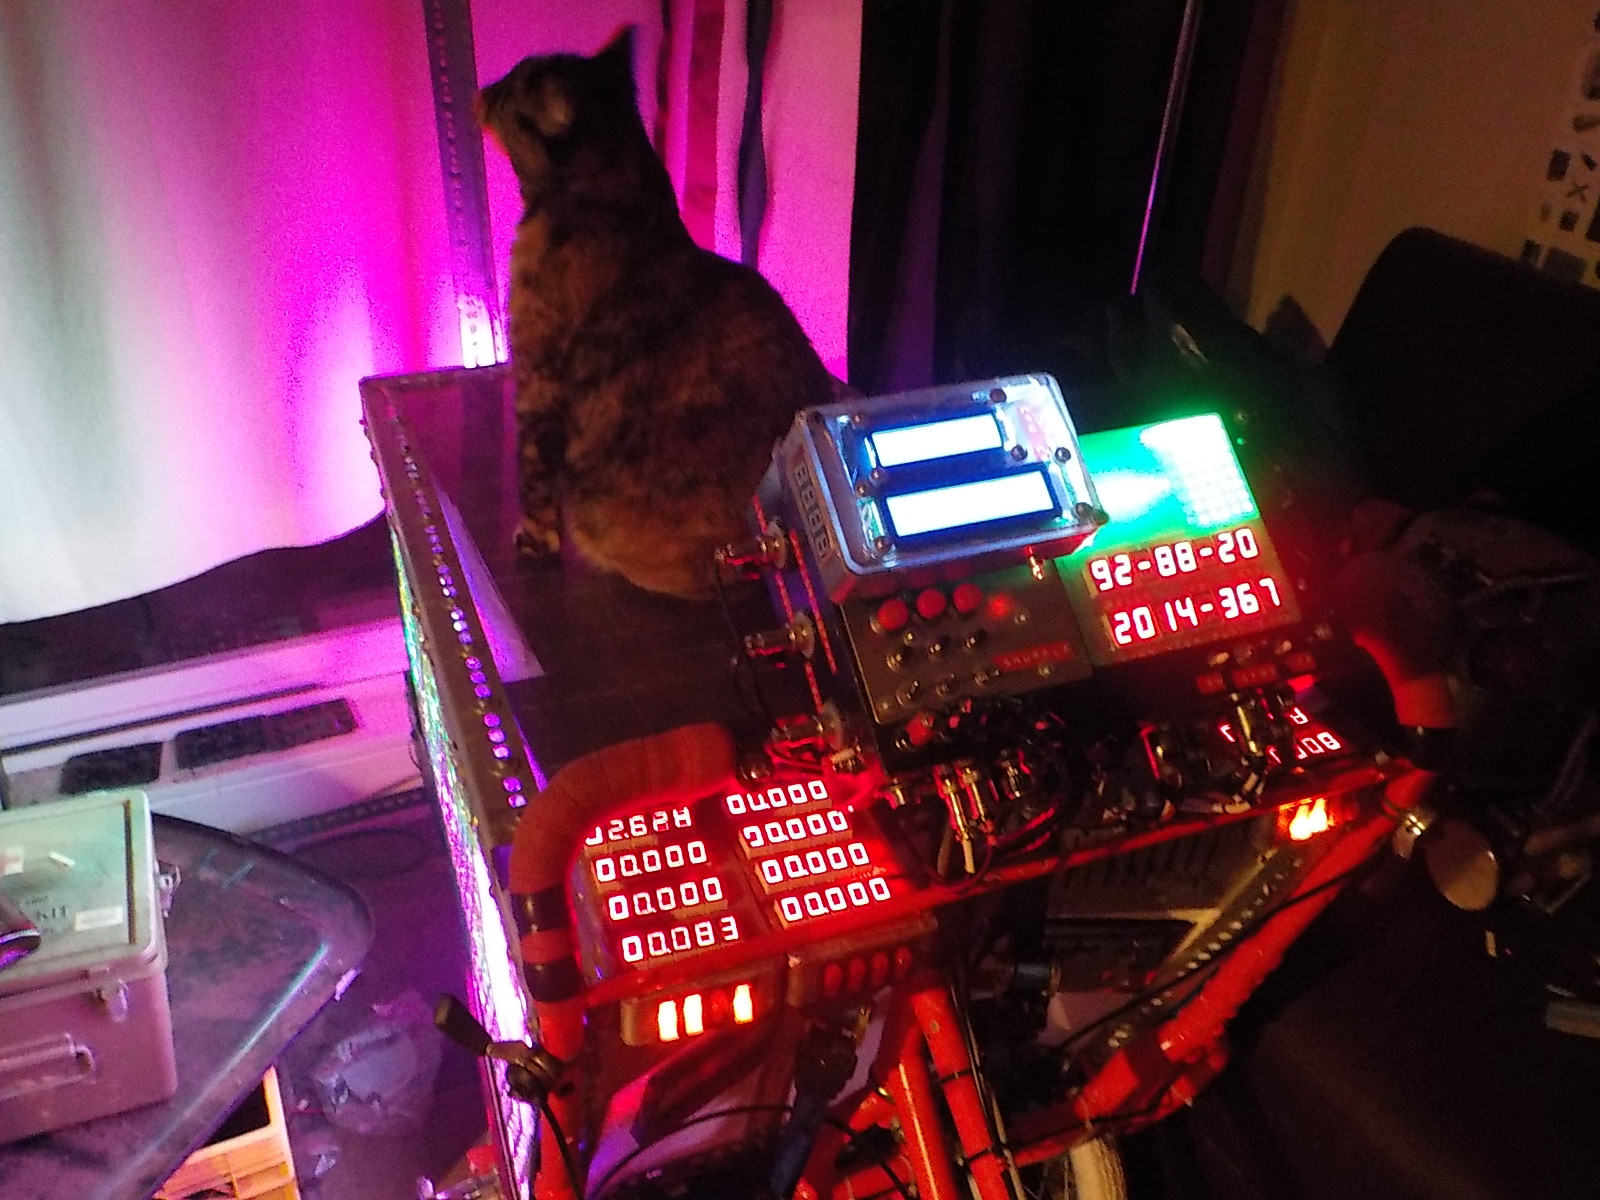
I wanted to incorporate information such as song titles into the LED display. This was accomplished with a Raspberry Pi running ArchLinux with a Python script configured to launch on startup. The Python script uses a software based MP3 player running to the standard RPI analog audio output. ID3 tags (Song title, Year, Run Time, etc) are extracted and sent to the PIC18F4550 controller boards through USB as ASCI strings. The controller boards incorporate the text into patterns through their own programming. The RPI uses an IO button matrix to input commands like next song, volume increase, etc.
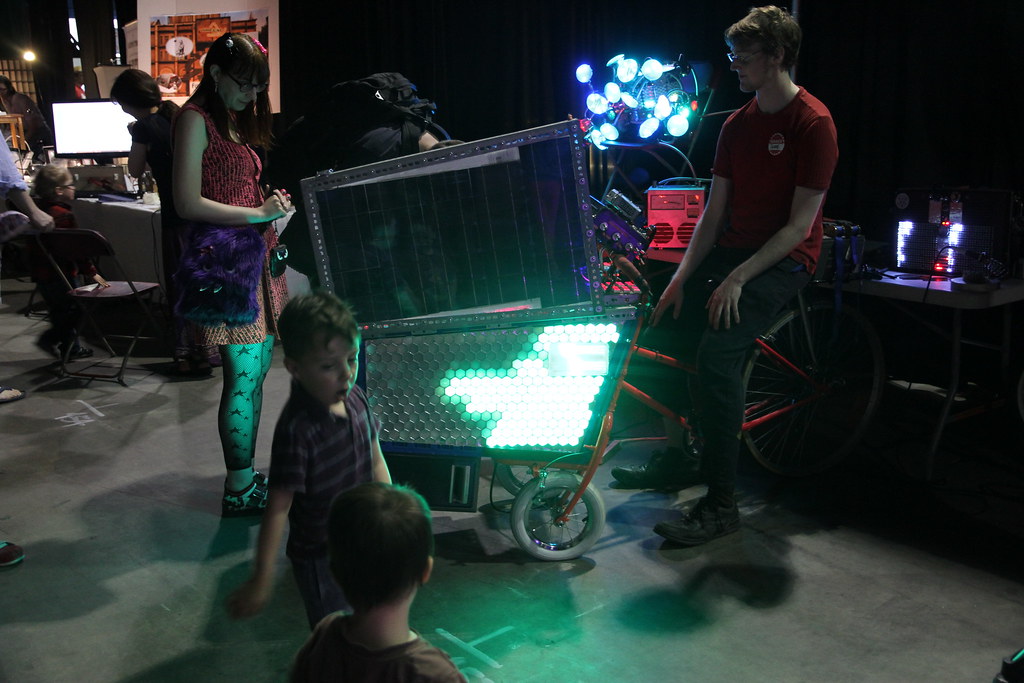
I wanted an interesting Doc-brown style display of the ID3 tag information. This was built into an industrial electronic case. A large green 8*16 LED matrix scrolls the song title. 7-segment displays show the song year, remaining play time, volume, and track number. The two LCD displays give Song Genre, artist, album name, and system status.
I wrote a step by step instruction document for this upgrade (pdf)

Bike Rave 2013:

2013 Construction Log:
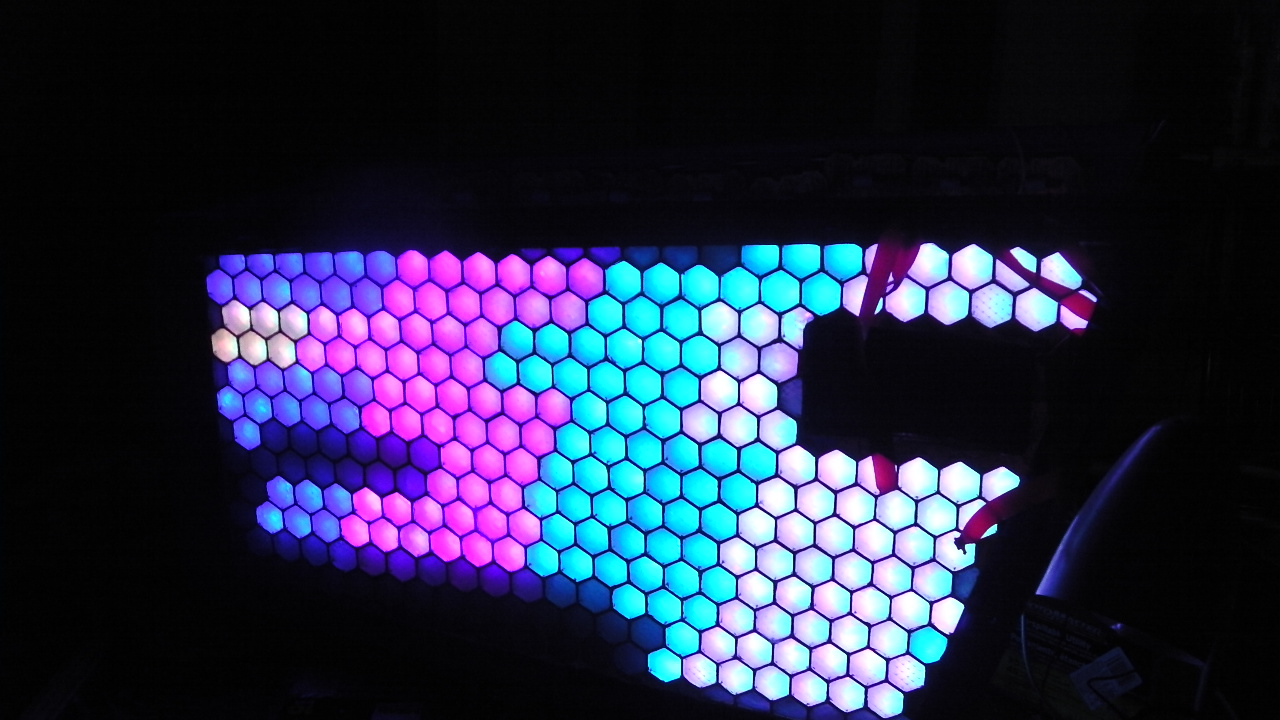
I noticed a broken shopping cart on the Beach last night. It had a plastic honeycomb basket and I started thinking about how amazing it would look if each of the cells were lit up by RGB LEDs. I carried it home and started designing PCBs to fit into the basket cells.
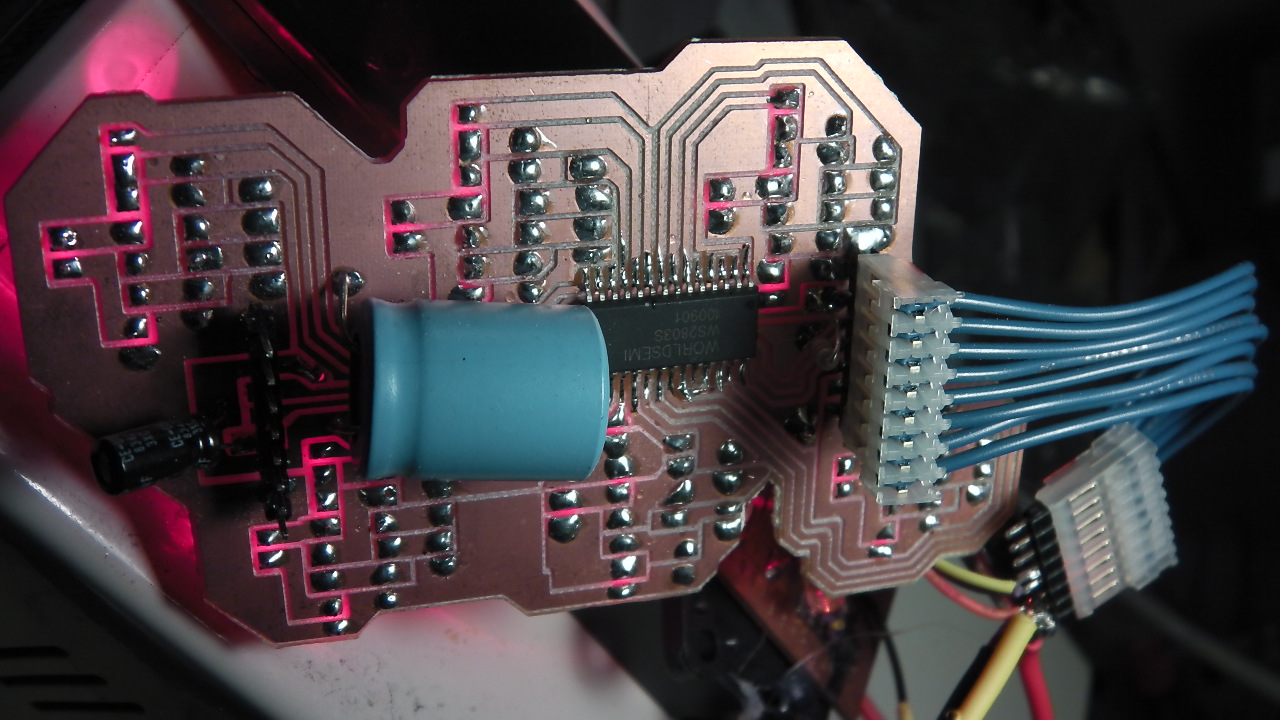
The boards use WS2803 LED driver chips. A WS2803 can drive 18 PWM channels up to 30 volts (6 RGB channels). To make sourcing parts easy I’ve used a 12v SLA battery. To save money on parts I’m using discrete “super bright” 5mm LEDs. Each cell contains three 3v Blue in series, three 3v green in series, and four 2v red in series. This means 9-10v per series group. If I go all the way to 12v the LEDs won’t work when the battery goes down to 11.9v due to the low operating voltage range of LEDs.

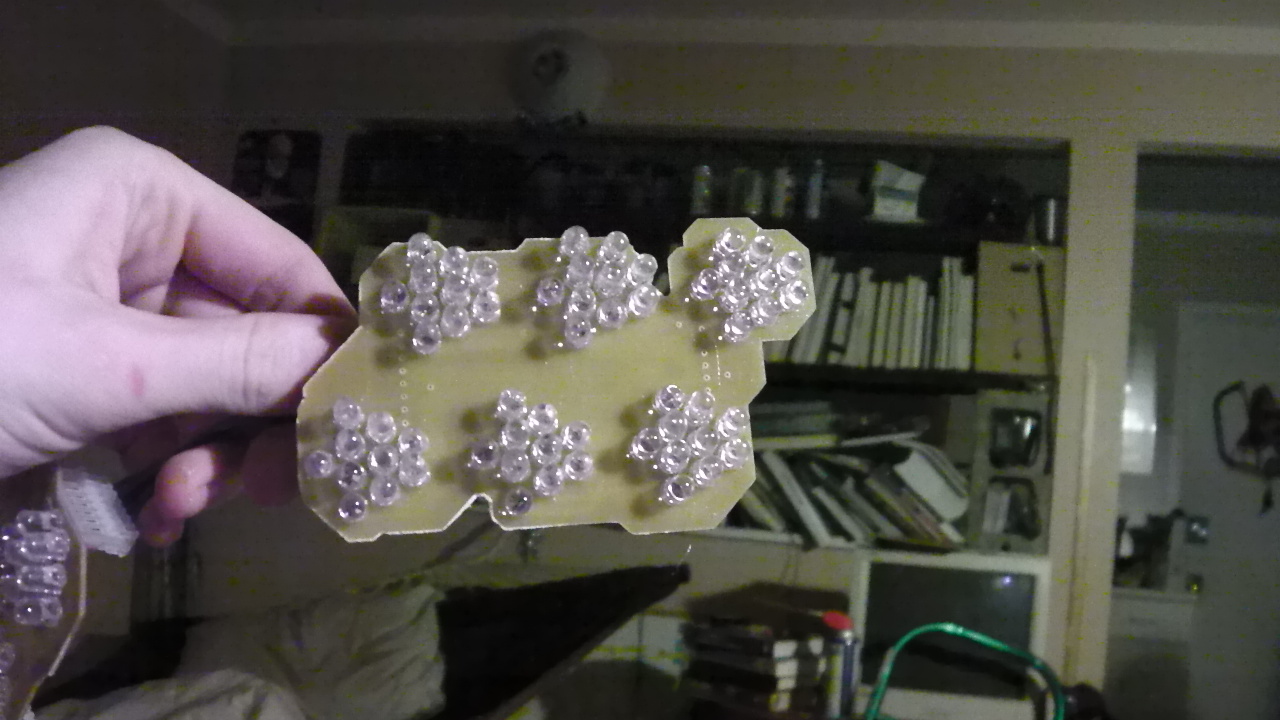
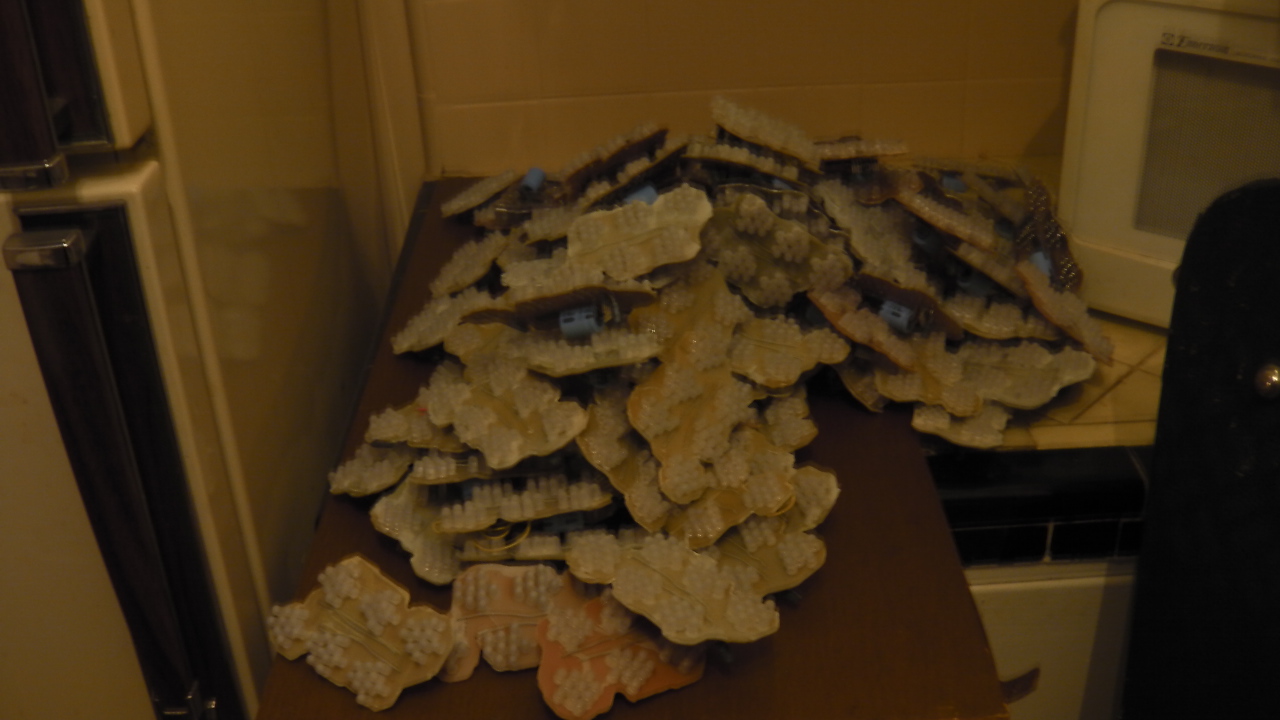
This project called for 121 of the circuit boards, which took two weeks to print and solder.
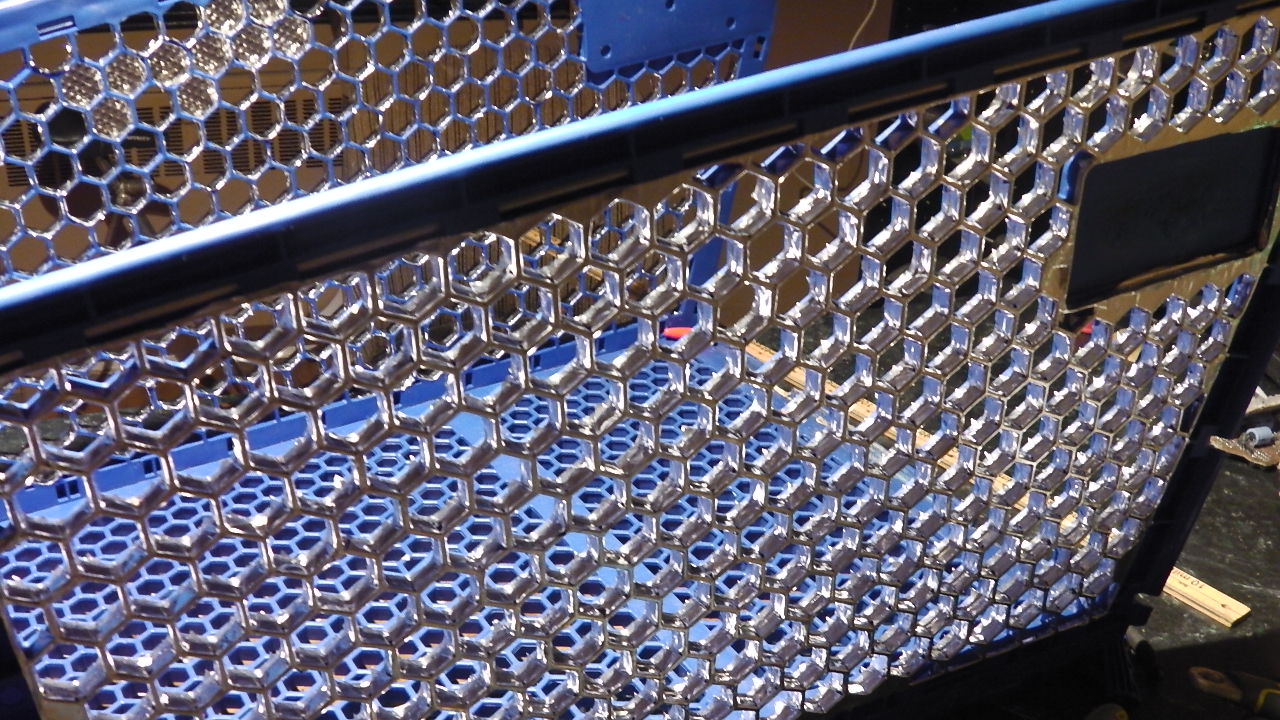
It was a dark blue shopping cart, so before installing the LED boards I covered the cells with reflective aluminium tape. This makes the lights brighter.
Step 1: Apply the tape.

Step 2: Cut the tape across each cell:
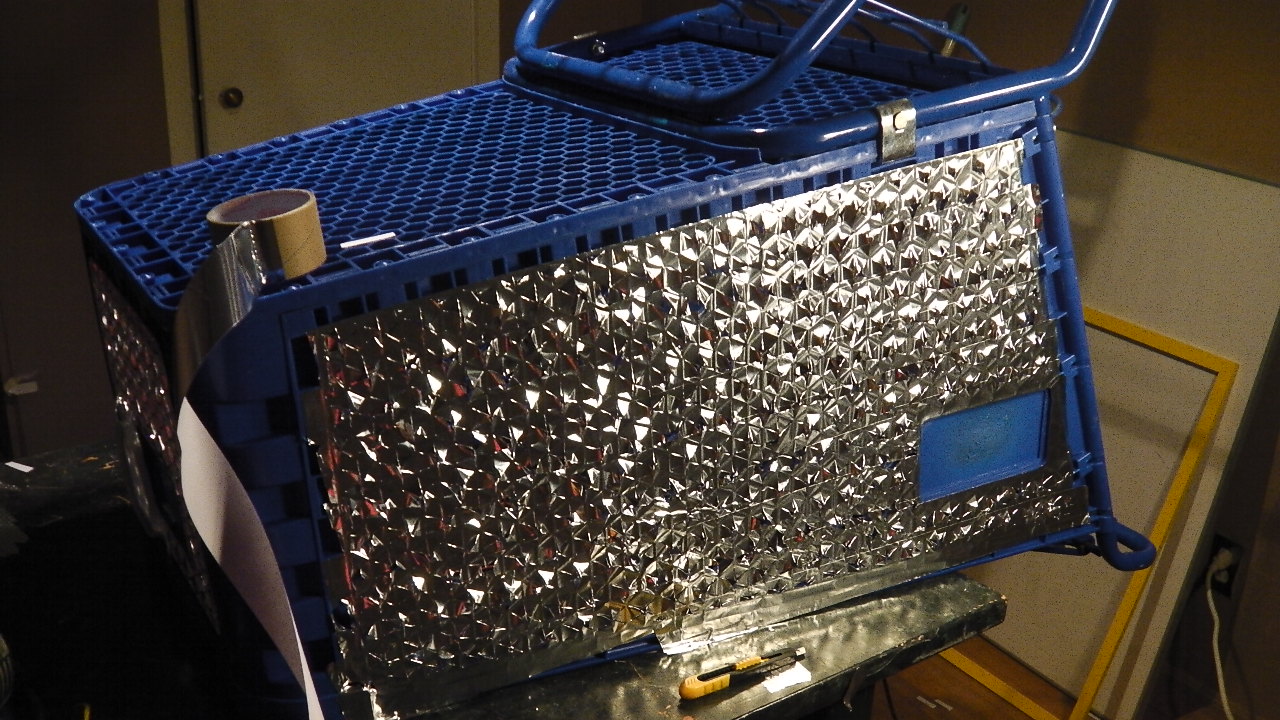
Step 3: Fold tape inwards:
After adding shiny tape to the cart I started working on diffusing the LEDs. My circuit boards don’t scatter the different coloured LEDs out very much. This was a sacrifice made in order to keep costs down with single sided copper clad boards. Diffusing will make blue and red produce purple, instead of two discrete spots of each colour.
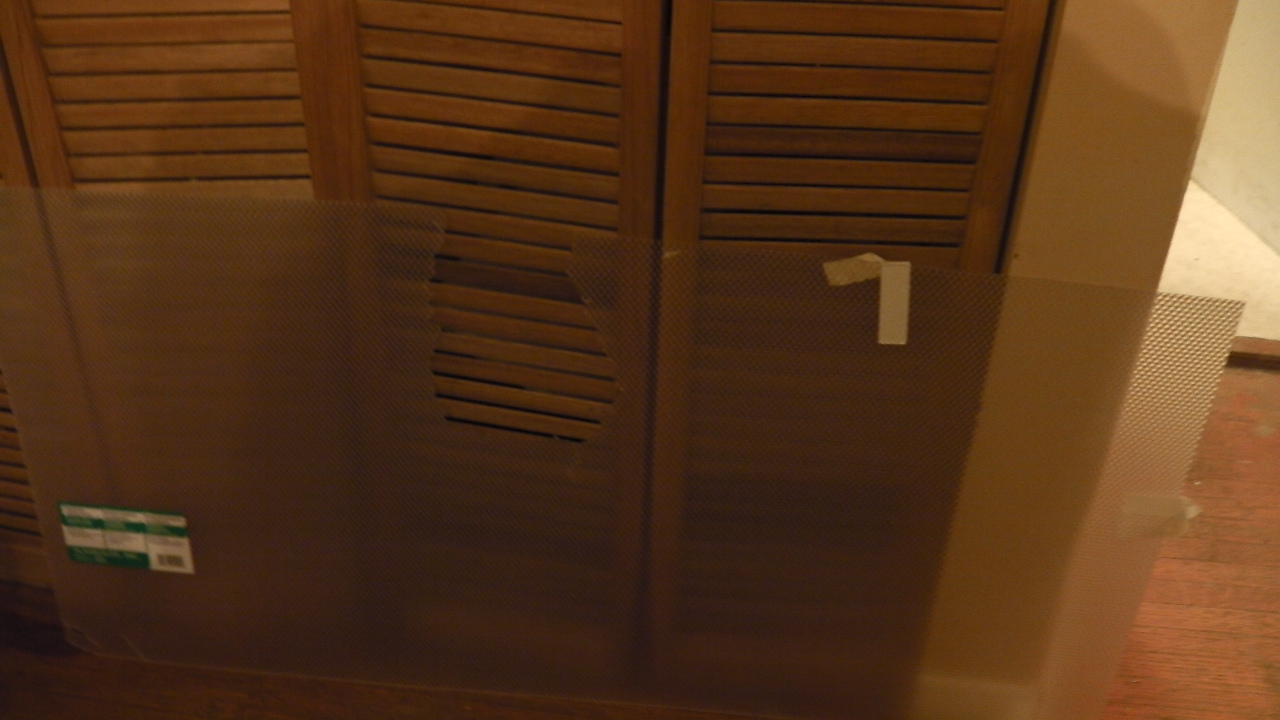
This is a lighting diffuser panel from Home Depot. It’s the thing you see over the lights in a lot of office buildings. They gave it to me for free because it was broken!
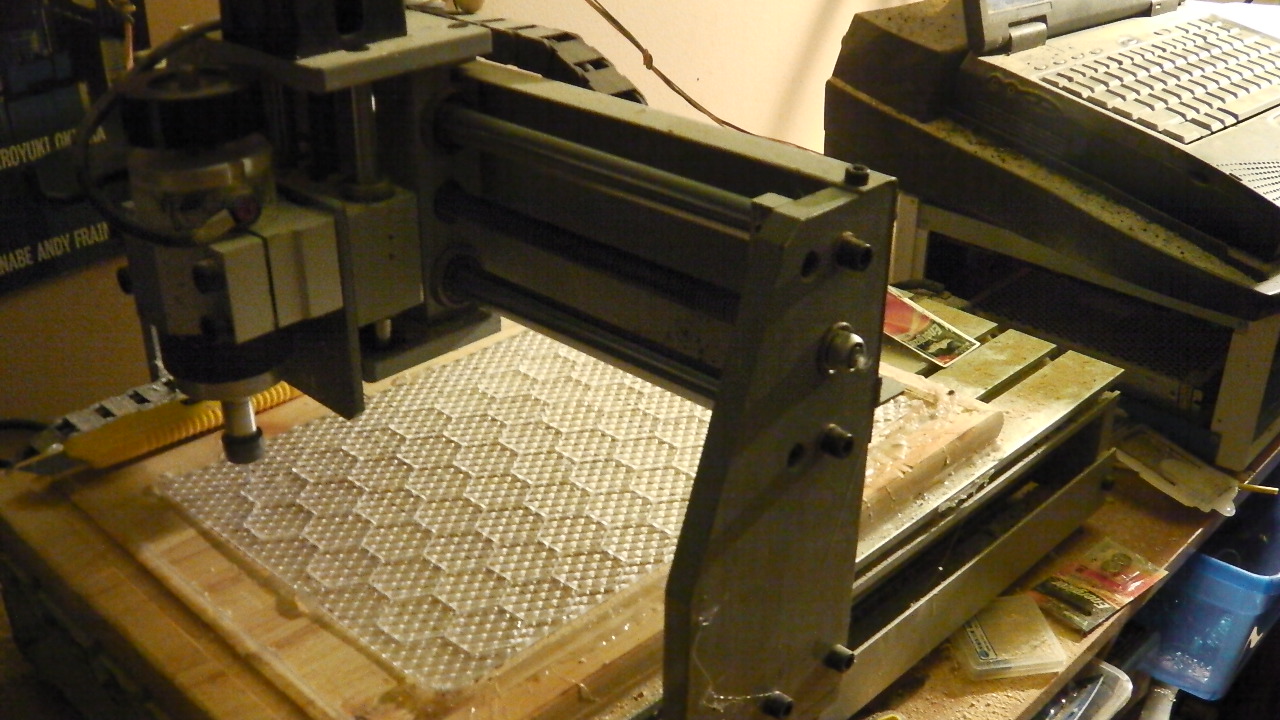
I used my CNC machine to cut the diffuser panel into hexagons to fit into the cells of the cart basket.
I inserted the hexagonal diffuser panels into the cart with a very liberal amount of milky silicone. The silicone helps diffuse the LEDs further.
After prepping the shopping cart cage with shiny tape and diffusion it was time to install the LED circuit boards. These are also held in with silicone.

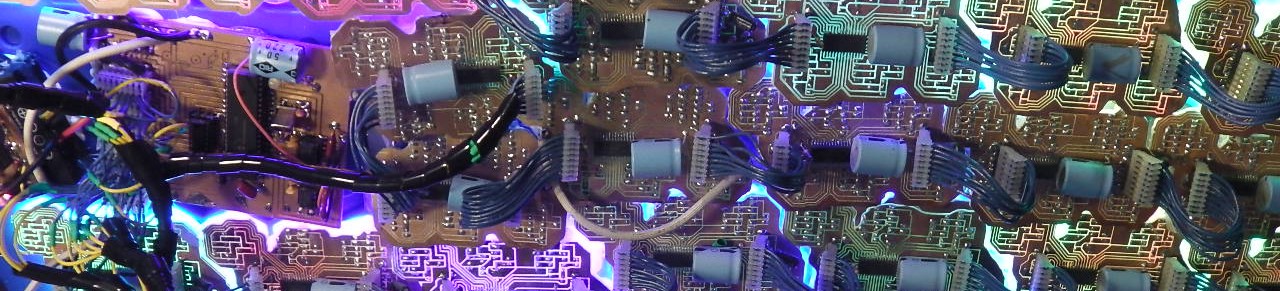
These are the microcontroller boards that will be running the WS2803 LED drivers. They’re built around the PIC18F4550. This IC has a USB transceiver which means I can write an Artnet-USB stack then control the shopping cart lights from a computer running commercial lighting control software like Madrix.
For redundancy each board can control its LEDs independent of any connection to external software. I’m adding a pair of MSGEQ7 ICs to help generate sound responsive visuals. These are analog frequency response ICs that give the PIC18F4550 the amplitude of seven individual audio frequency ranges on both the right and left audio channels.
The WS2803 LED drivers can be used to form long shift register chains. However with a shift register chain one damaged connection means every proceeding shift register doesn’t get data. This project is going to be mobile (lots of shaking) so damaged connects are something I need to anticipate. Each board uses a 74HC4051 multiplexer chip to break up the PIC18F4550’s SPI clock into eight separate channels. With eight short shift register groups a single broken connection won’t take out very many LED control boards.
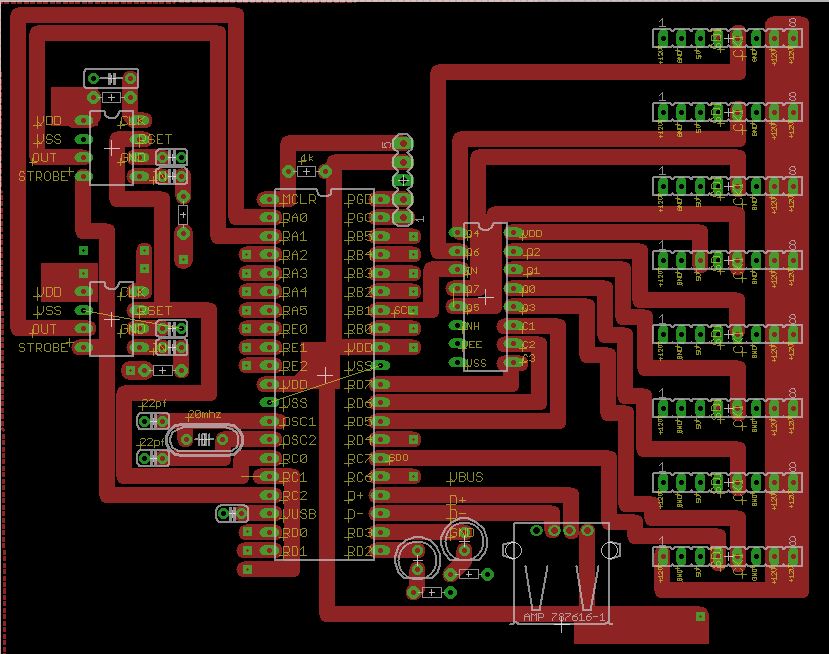
Shown here are two completed control boards. The project uses three of them; one for the front, right, and left sections of the cart. The processing power of these microcontrollers is limited, so I don’t want to make one responsible for generating and pushing data to every LED board. Three independent microcontrollers also adds redundancy. Two thirds of the LEDs will still be running if one of them is damaged.

I connected up the microcontroller boards and wrote a simple program for them.
Here is the first attempt at scrolling text.
Here is the first attempt at running the audio processing. You will see some bugs occur towards the end. This is because of problems with the logic voltage supply.
This is a better logic voltage supply that fixes all the problems. It’s a 5v switching regulator combined with a crowbar circuit so the boards won’t fry if the 5v logic is accidentally connected to the 12v LED drive supply.

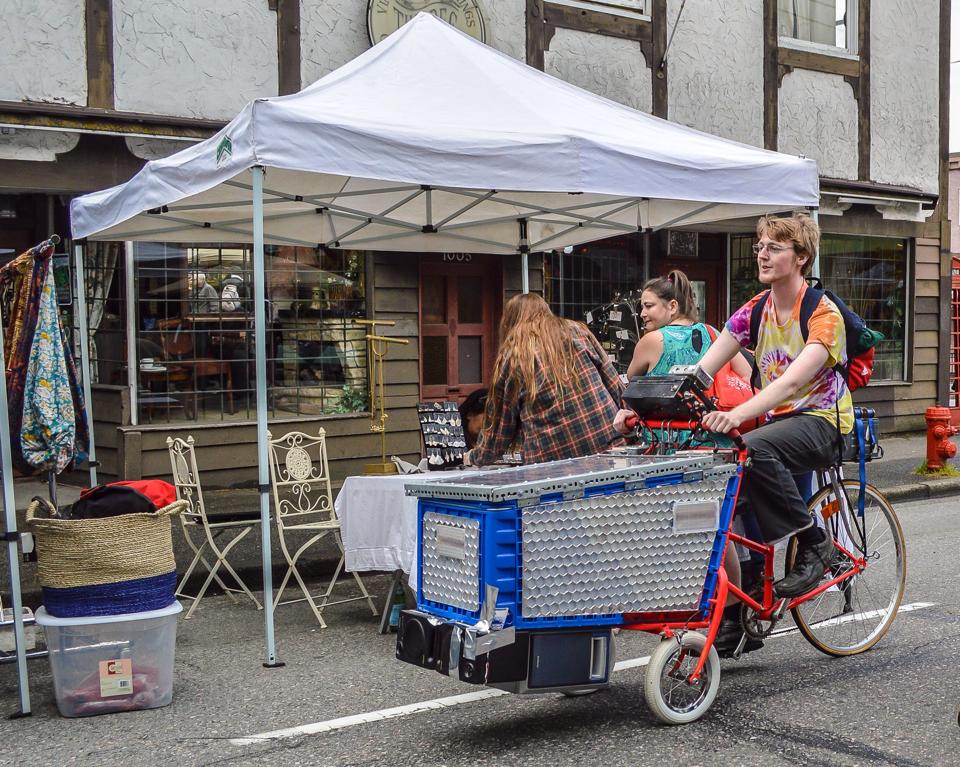
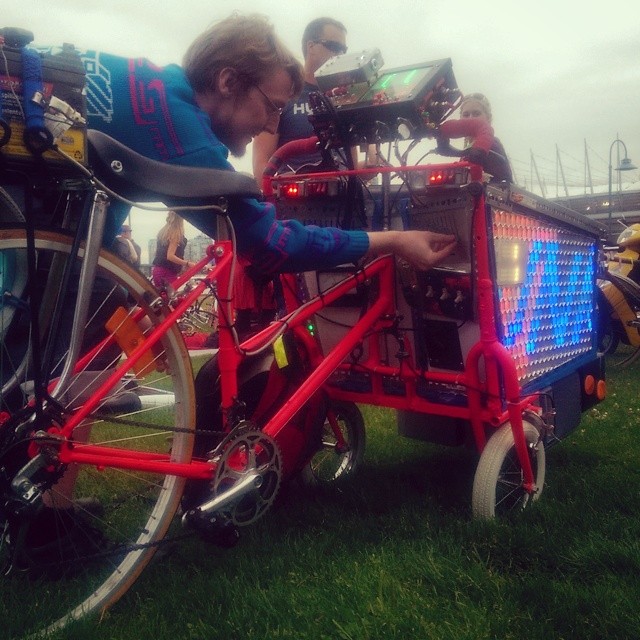
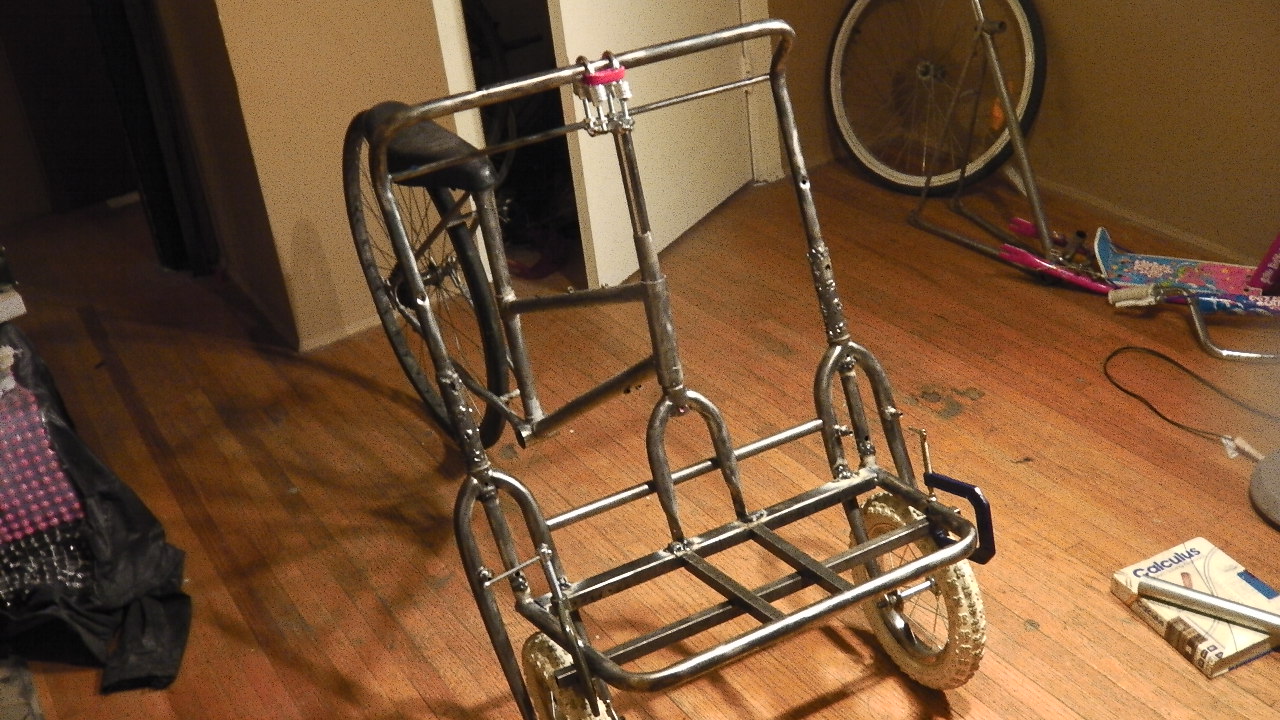
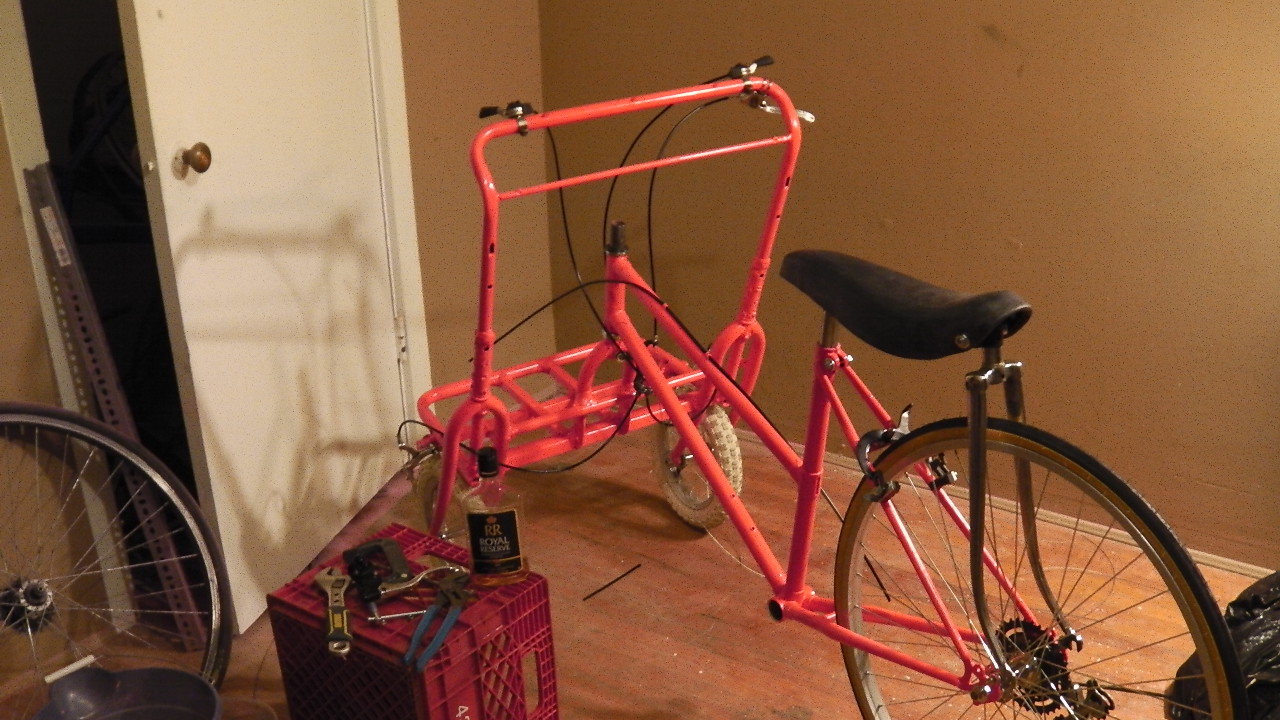
I welded bike forks to the shopping cart to hold pneumatic 12.5″ bicycle wheels, and installed a 22″ bike frame to the rear end. I also added additional cross pieces to the bottom because I needed a place to attach caliper brakes. Wheels go under the cart instead of the sides so they don’t obstruct the LED panels.
Flourescent red paint and a lot of gloss.
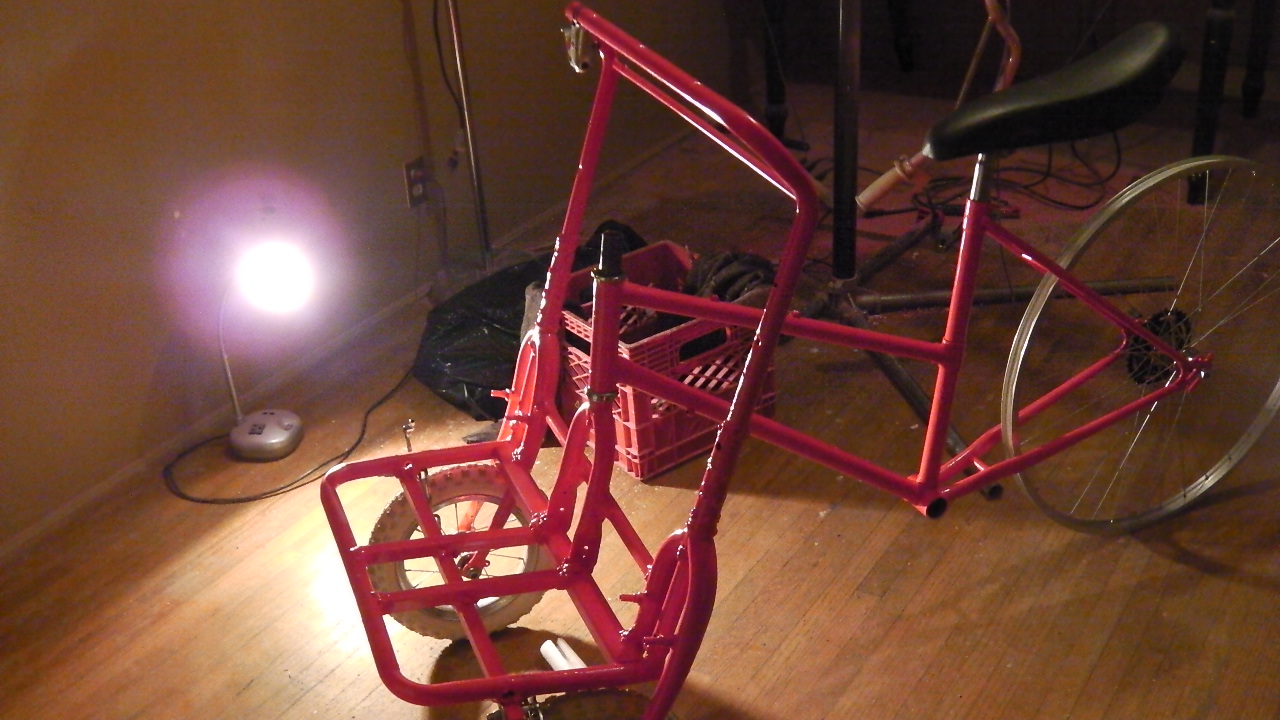
Bicycle component install. I’m using a banana seat because I may need to sit further back to avoid my knees hitting the front section.
Time for Solar! I got 250 of these 0.5V 3A crystaline solar cells when Evergreen Electric went out of business and had to liquidate their inventory. Twenty five of them in series produces the 12.5 volts ideal for charging a 12v SLA battery. (batteries need to be charged at a slightly higher voltage than they operate at). I’m using a commercial solar charge controller.


No pictures from the Maker Fair this year?